
The generated game features will be described in this section. After compiling the Game Project as it was described in Section 4, the “Web Link” button can be used to play the game online. Alternatively, if the game was compiled for Windows, Mac, or Linux, the zipped binary should be downloaded, extracted, and the binary “mygame.exe” should be ran. For binary type of games ignore any certification questions as our server is in testing mode and does not produce digitally signed games. The initial page of the game is the Main Menu as shown in Figure 14. The image is the one selected in Scenario 1 for Main Menu scene.
Figure 14: Main menu of the compiled game.
The help “?” button leads to the interface shown in Figure 15. The image and the text are the ones entered in Scenario 1. For this certain case, we have selected the image that shows the keyboard mouse controls for the game.
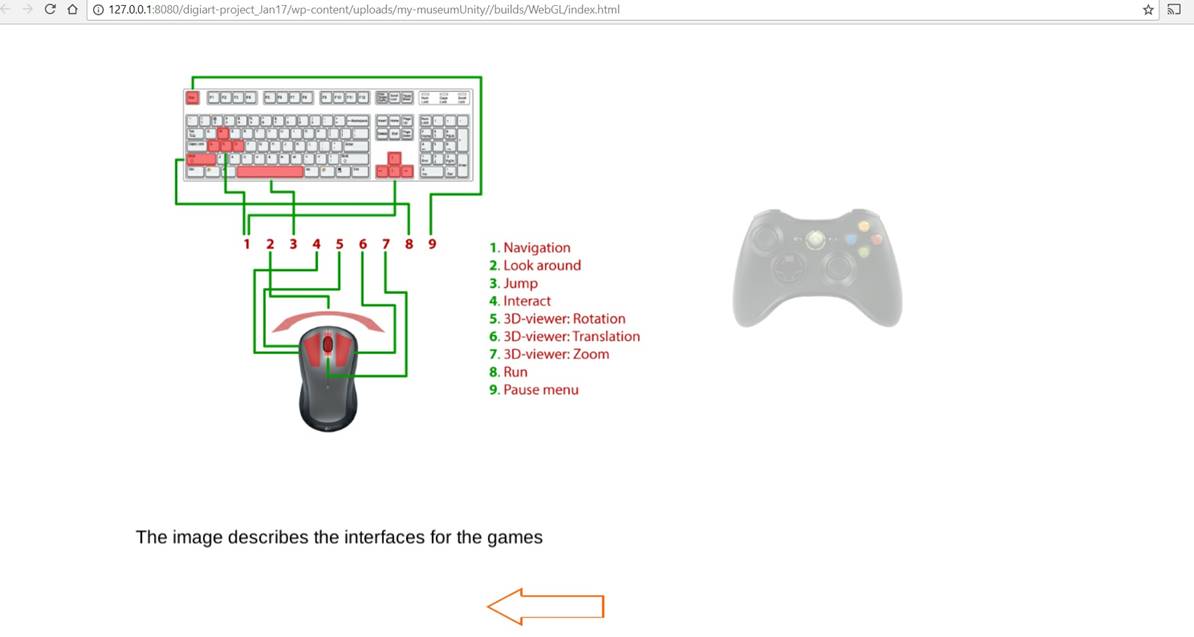
Figure 15: Help scene of the compiled game
The “Login” button leads to the interface shown in Figure 16. Credentials are useful for monitoring game analytics.
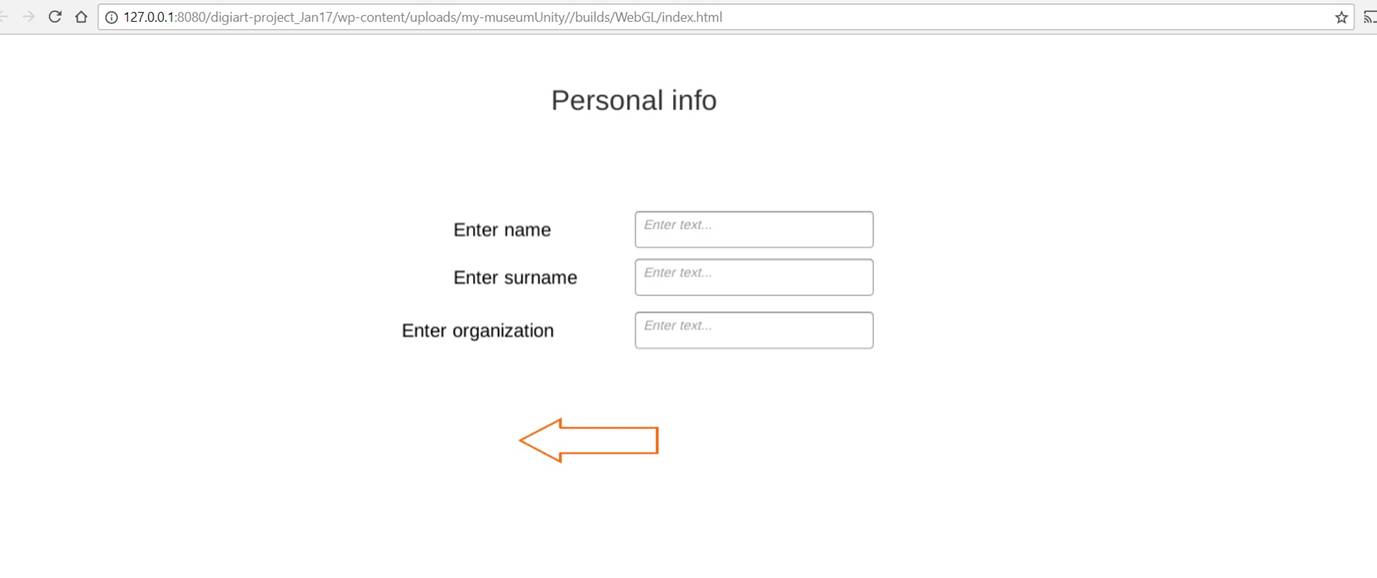
Figure 16: Login scene of the compiled game
On Main Menu press, the gear button leads to the interface shown in Figure 17. When Oculus Rift mode is enabled the game will run with VR glasses support. However, this is only feasible for the Windows compiled game. The height offset is used for controlling the height of the user for standing or sitting mode.
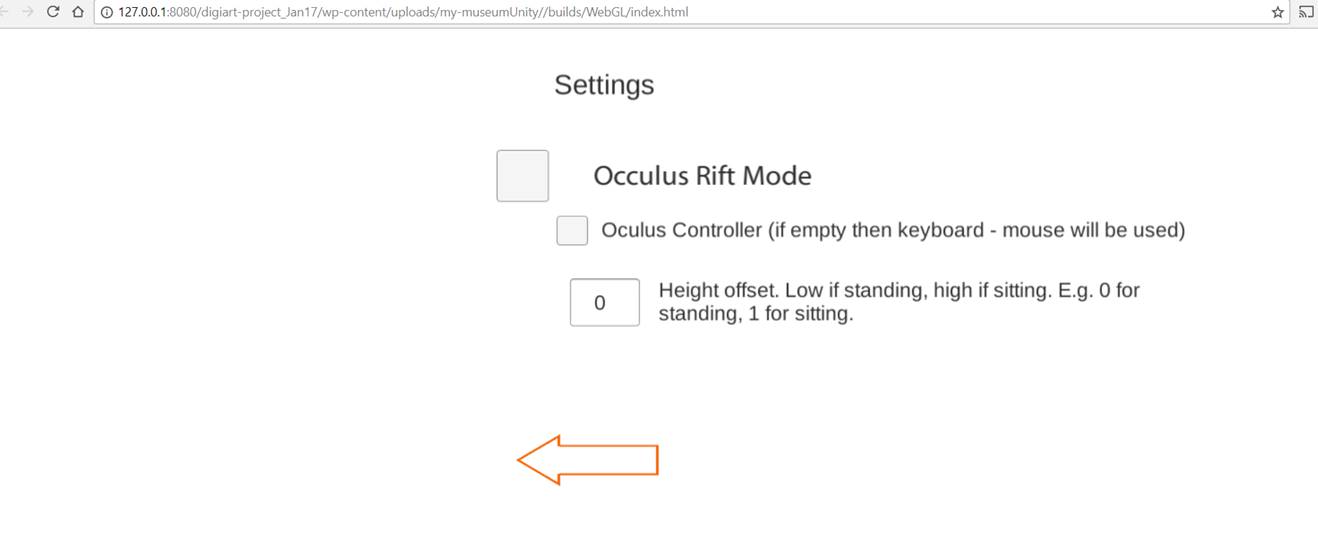
Figure 17: Options scene of the compiled game
On Main Menu, the DigiArt logo button leads to the interface presented in Figure 18. Press back to Main Menu.
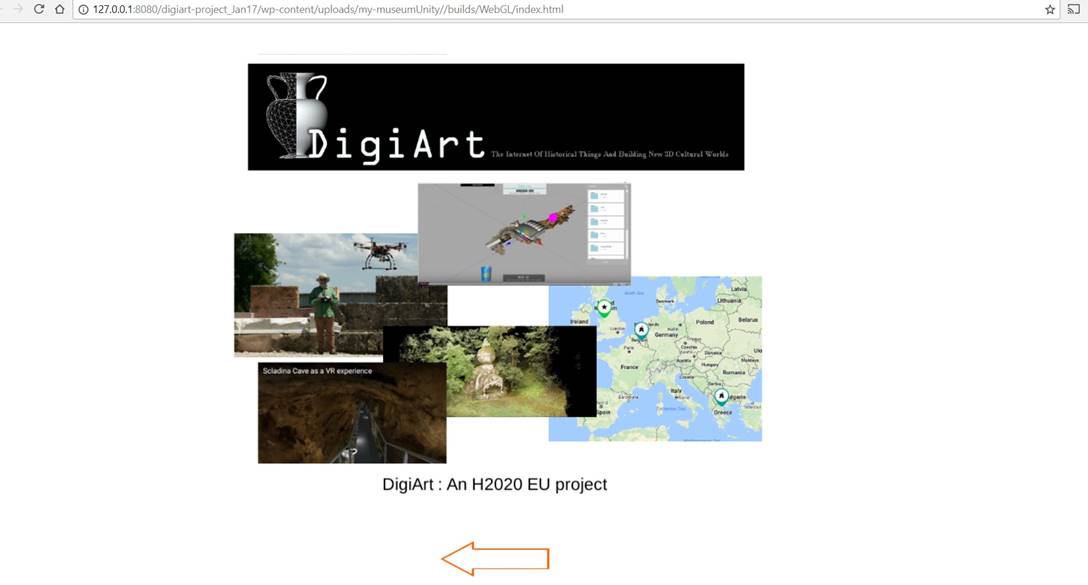
Figure 18: Credits scene of the compiled game
On Main Menu, “Enter” button leads to the interface shown in Figure 19, where a screenshot of the scene was automatically created when saving each scene in the 3D editor, and the title and description are shown over it. A scene can be selected for playing.
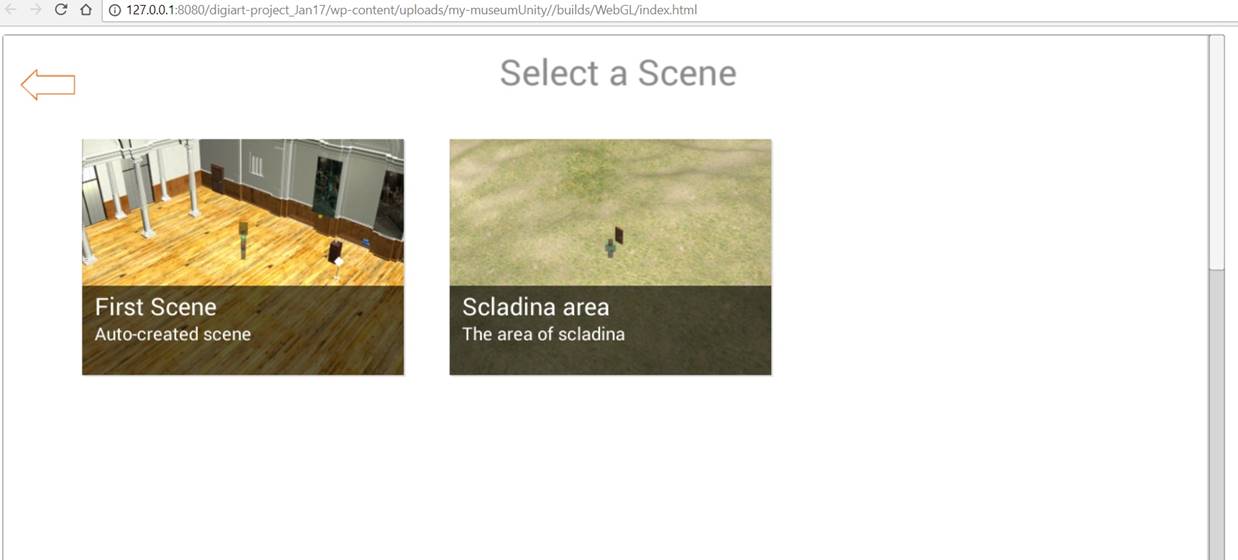
Figure 19Scene selection menu. Multiple scenes are supported.
Upon selecting the “First Scene”, the interface of Figure 20 should be shown which is the actual game environment for wandering around in the museum. On the upper left, there is the experience bar that shows how many items should be visited in order to release the reward item. In the scene two decoration posters can be shown, a yellow star that represents a POI featuring image and text, a blue camera model that represents a POI featuring video, and a skull on a wooden pillar representing a POI artifact.
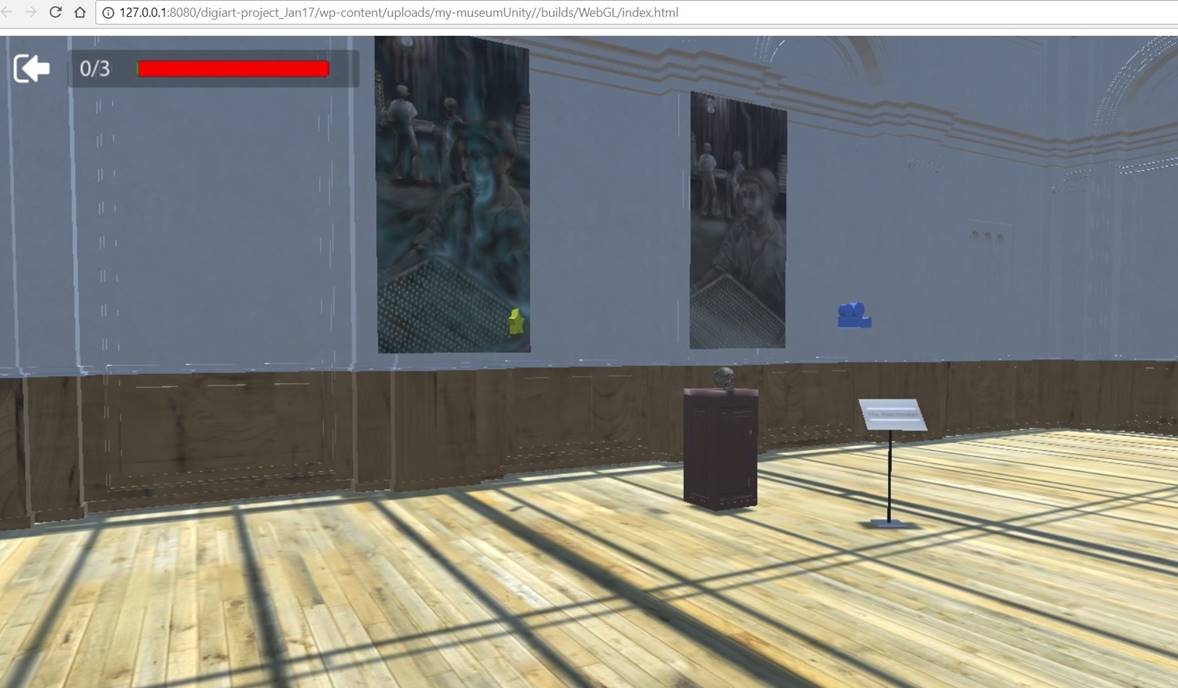
Figure 20: Playing the Game.
Upon clicking on the yellow star or passing through it, the interface of the Figure 21 is shown. The image covers the left side, the description text spans the right side, and the title is overlaid on the image.

Figure 21: Poi featuring Image-Text. Image, title and description positions.
Upon click on the POI video or passing through it, a video is overlaid on the whole screen which starts automatically.
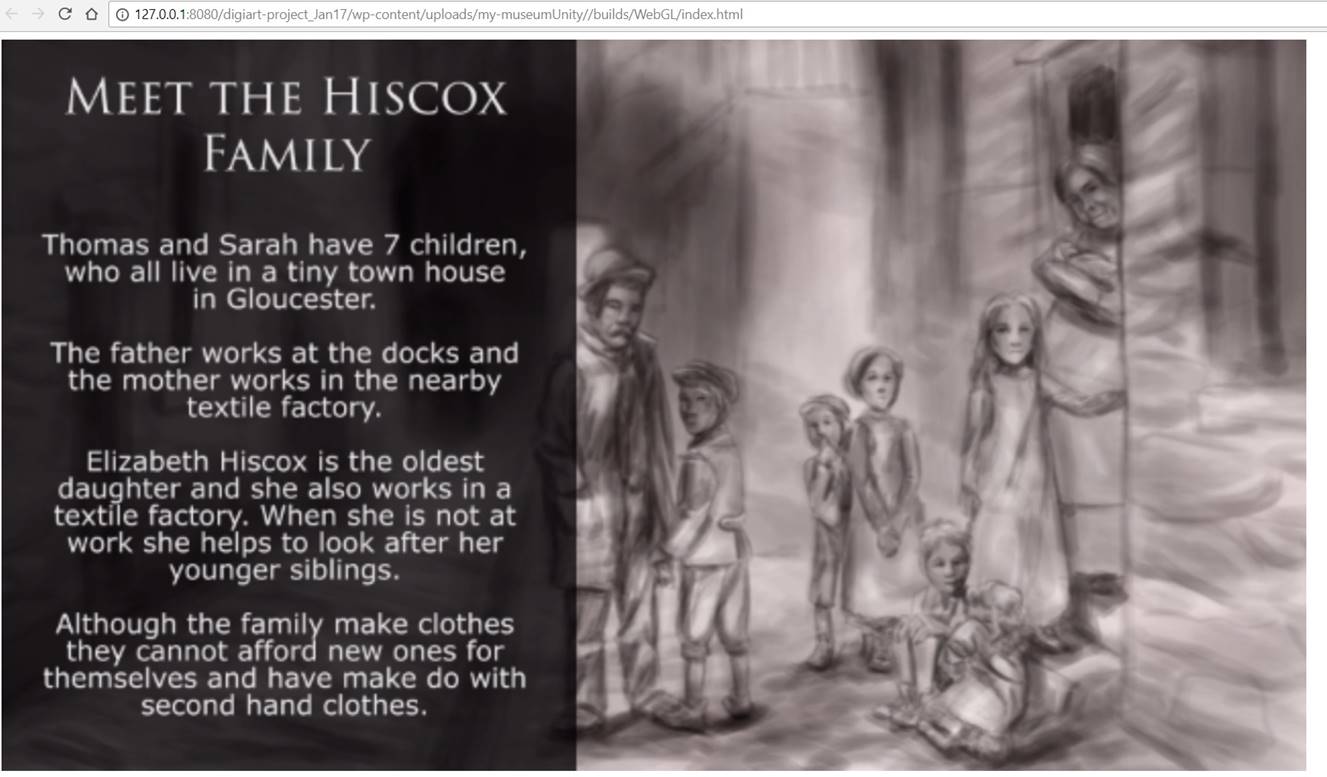
Figure 22: Poi featuring video.
Upon clicking on the artifact or passing through it, the interface of Figure 23 is shown. The 3D model of the artifact is transferred on the left side and it can be rotated with the mouse. By clicking on the right side of the panel, the rotation handling stops. The title and the description are placed on the right side.
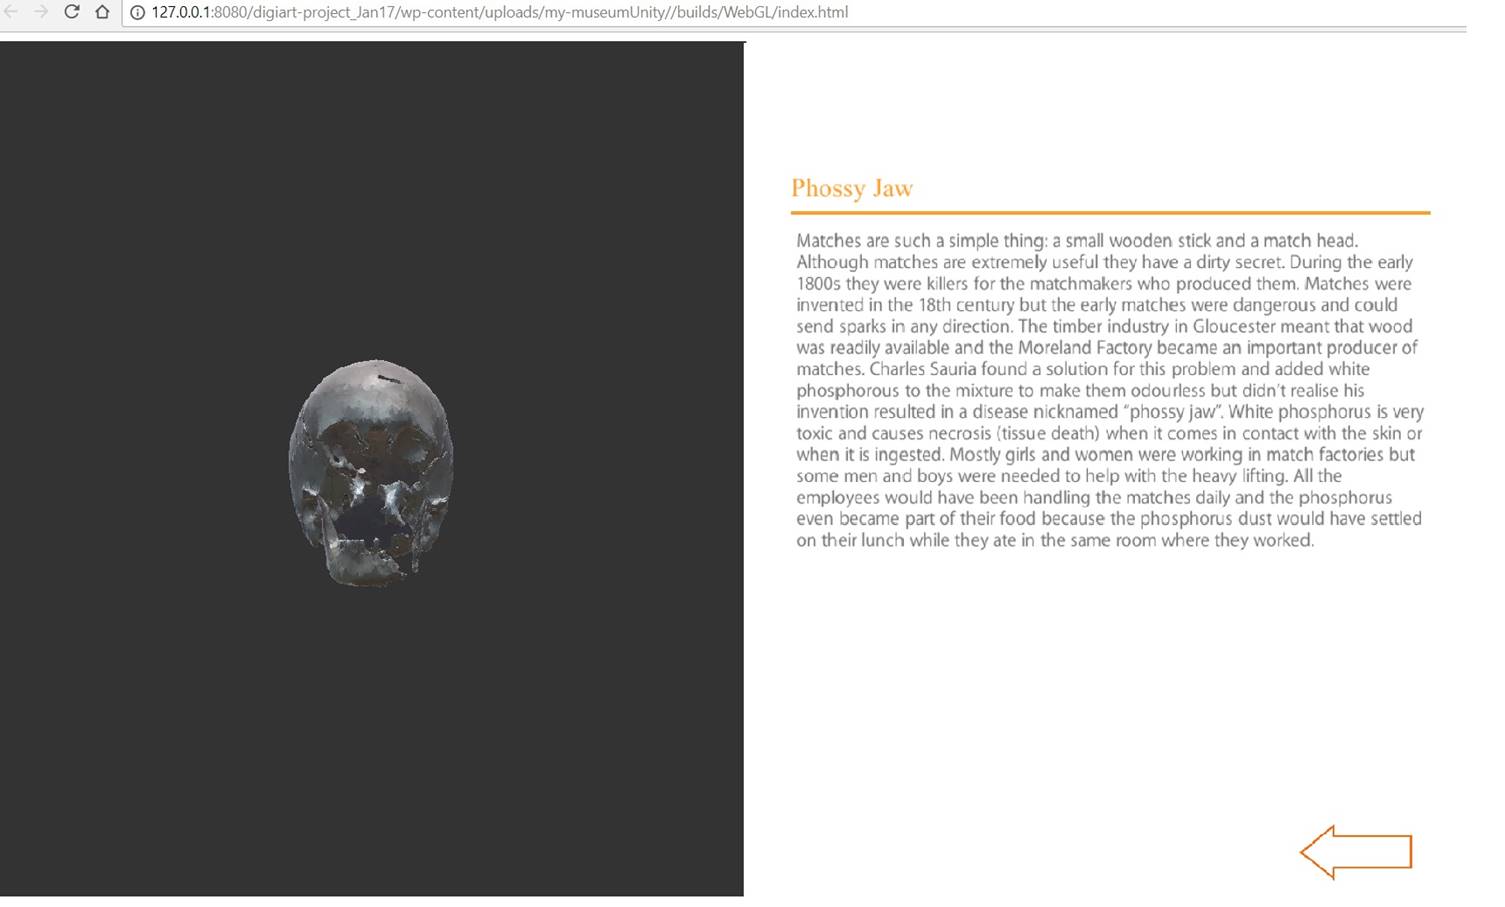
Figure 23: Poi featuring and artifact with title and description.
Upon visiting all items in the scene, 3 for the certain scene, a reward item appears which in this case, it is a door (it could be also another artifact, or a POI video). A green arrow leads the user to the reward item. By passing through the door, a reward scene is loaded.
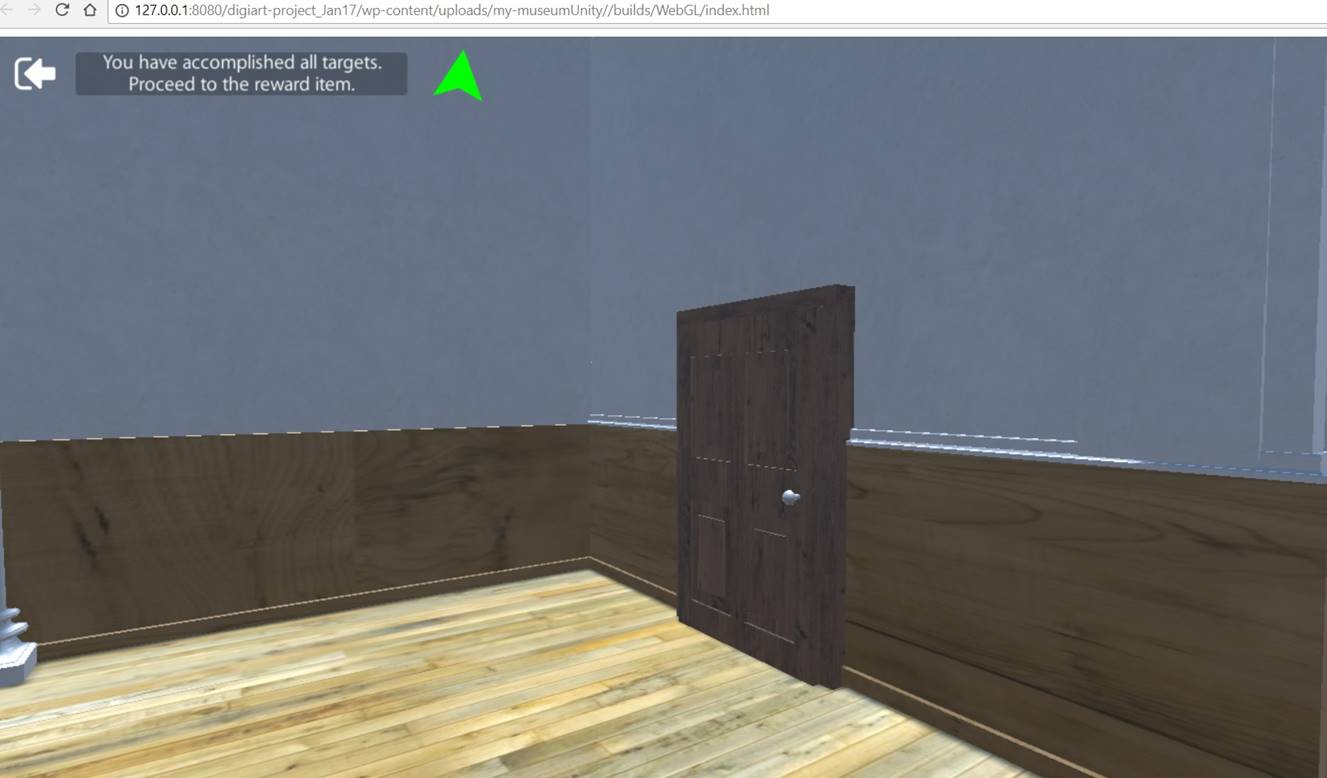
Figure 24: Reward phase. Green arrow guides the user to the door (reward item) which was previously invisible.